AN ARTIST’S TECHNIQUE
Inspired by the old handpainted postcards of the 1930s, Niki first started painting her black and white photographs in the 1980s. She was fascinated by the gentle surreal quality of the old images and wanted to create the beautiful pastel tones within her modern-day pieces. Using her own photographs, oil paint, Q-tips, and cotton balls, she turned landscapes into dreamscapes and reality into fantasy. Niki enjoyed the freedom to reinterpret each scene by developing and applying her own color palette to each image. After taking the black and white photograph with her Pentax 67 medium-format

camera, she would develop the photo in the darkroom on fiberbased black and white matte surface paper. Then using her oil paints, she added multiple layers of color to the image, creating mood and focal points. Today, Niki uses the same technique to paint digitally. Using much of the same artistic process, Niki photographs with a Sony α7R II digital camera and then paints the images using Photoshop and a Wacom tablet. The versatility of her workspace allows her more freedom to paint while traveling and photographing. On the following page, you can see a typical step-by-step of Niki’s process of hand-painting photos
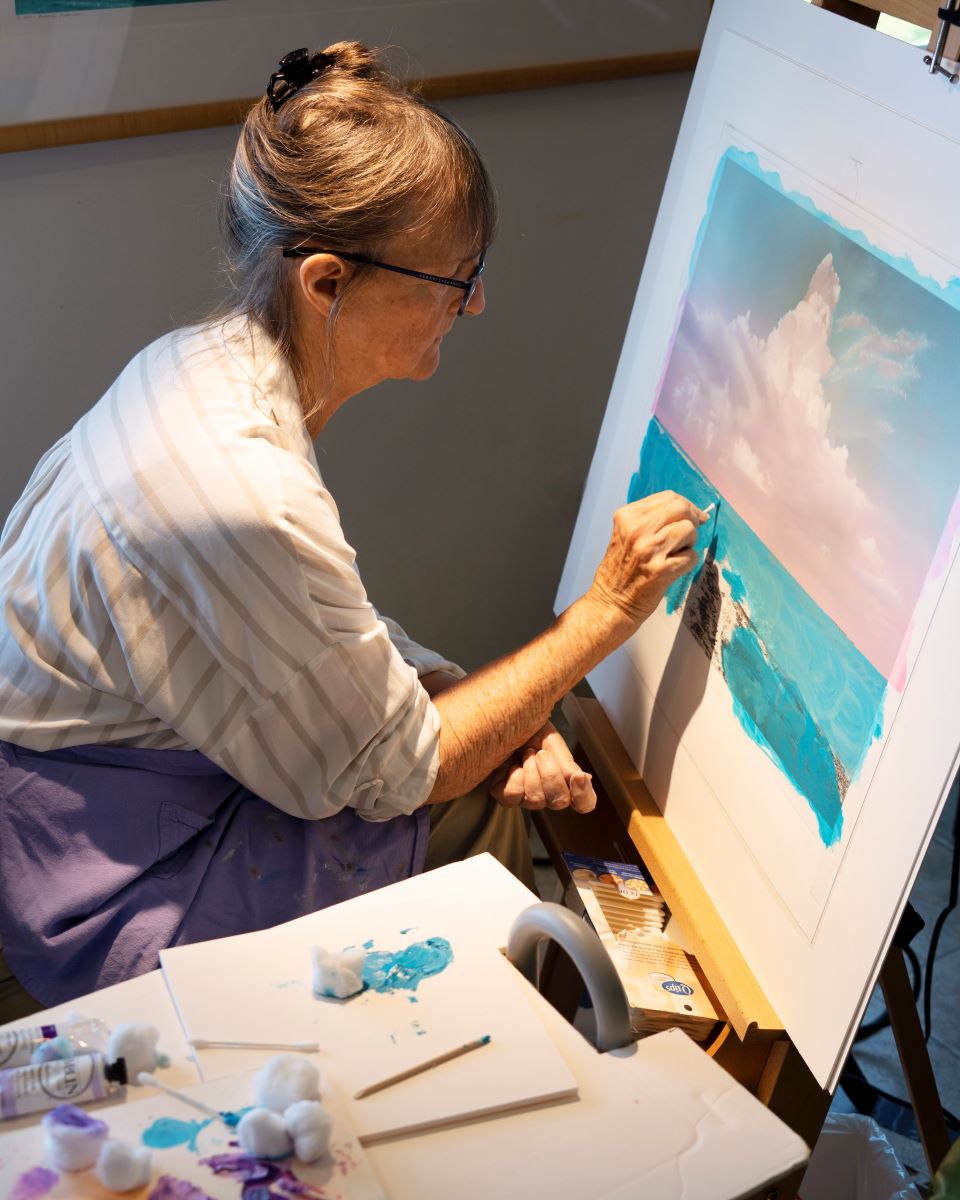
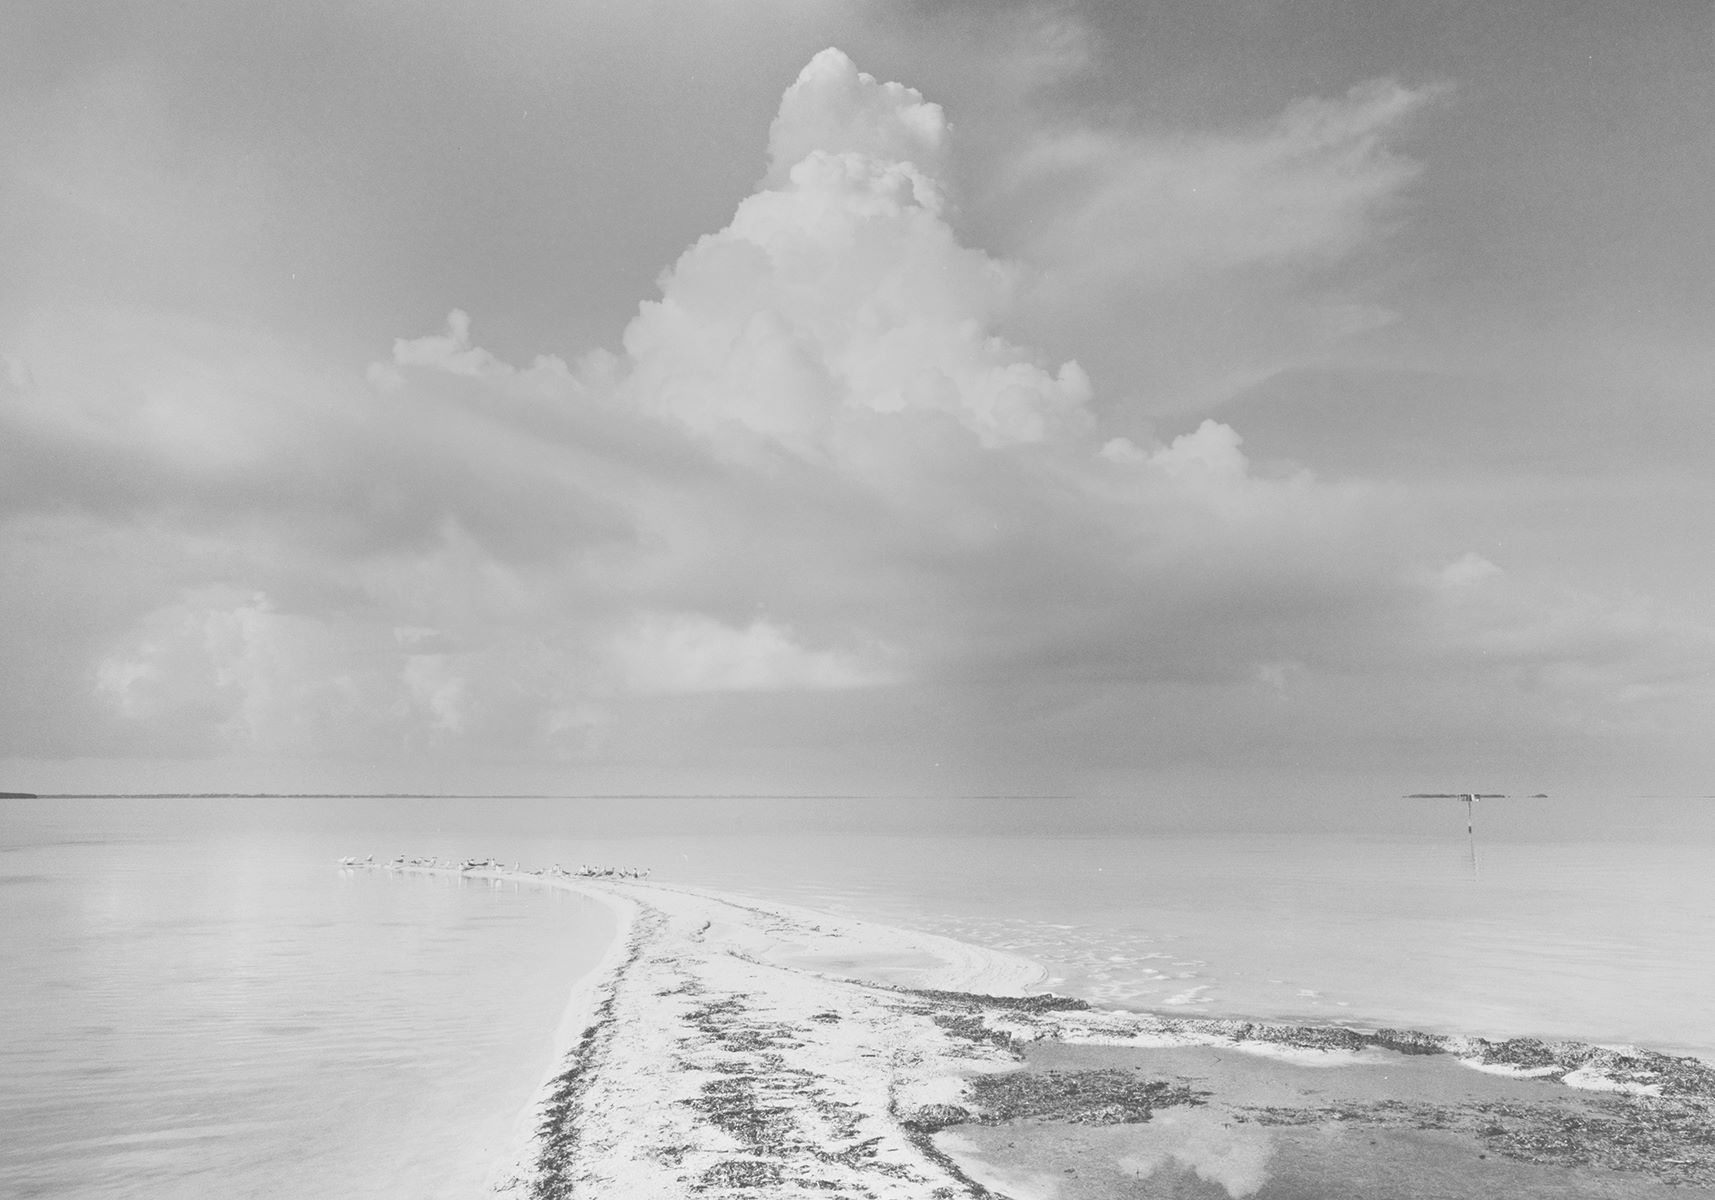
STEP 1: Niki first captures her image using black and white film and a medium-format Pentax 67 camera. She then develops the photograph in the darkroom on matte surface paper.
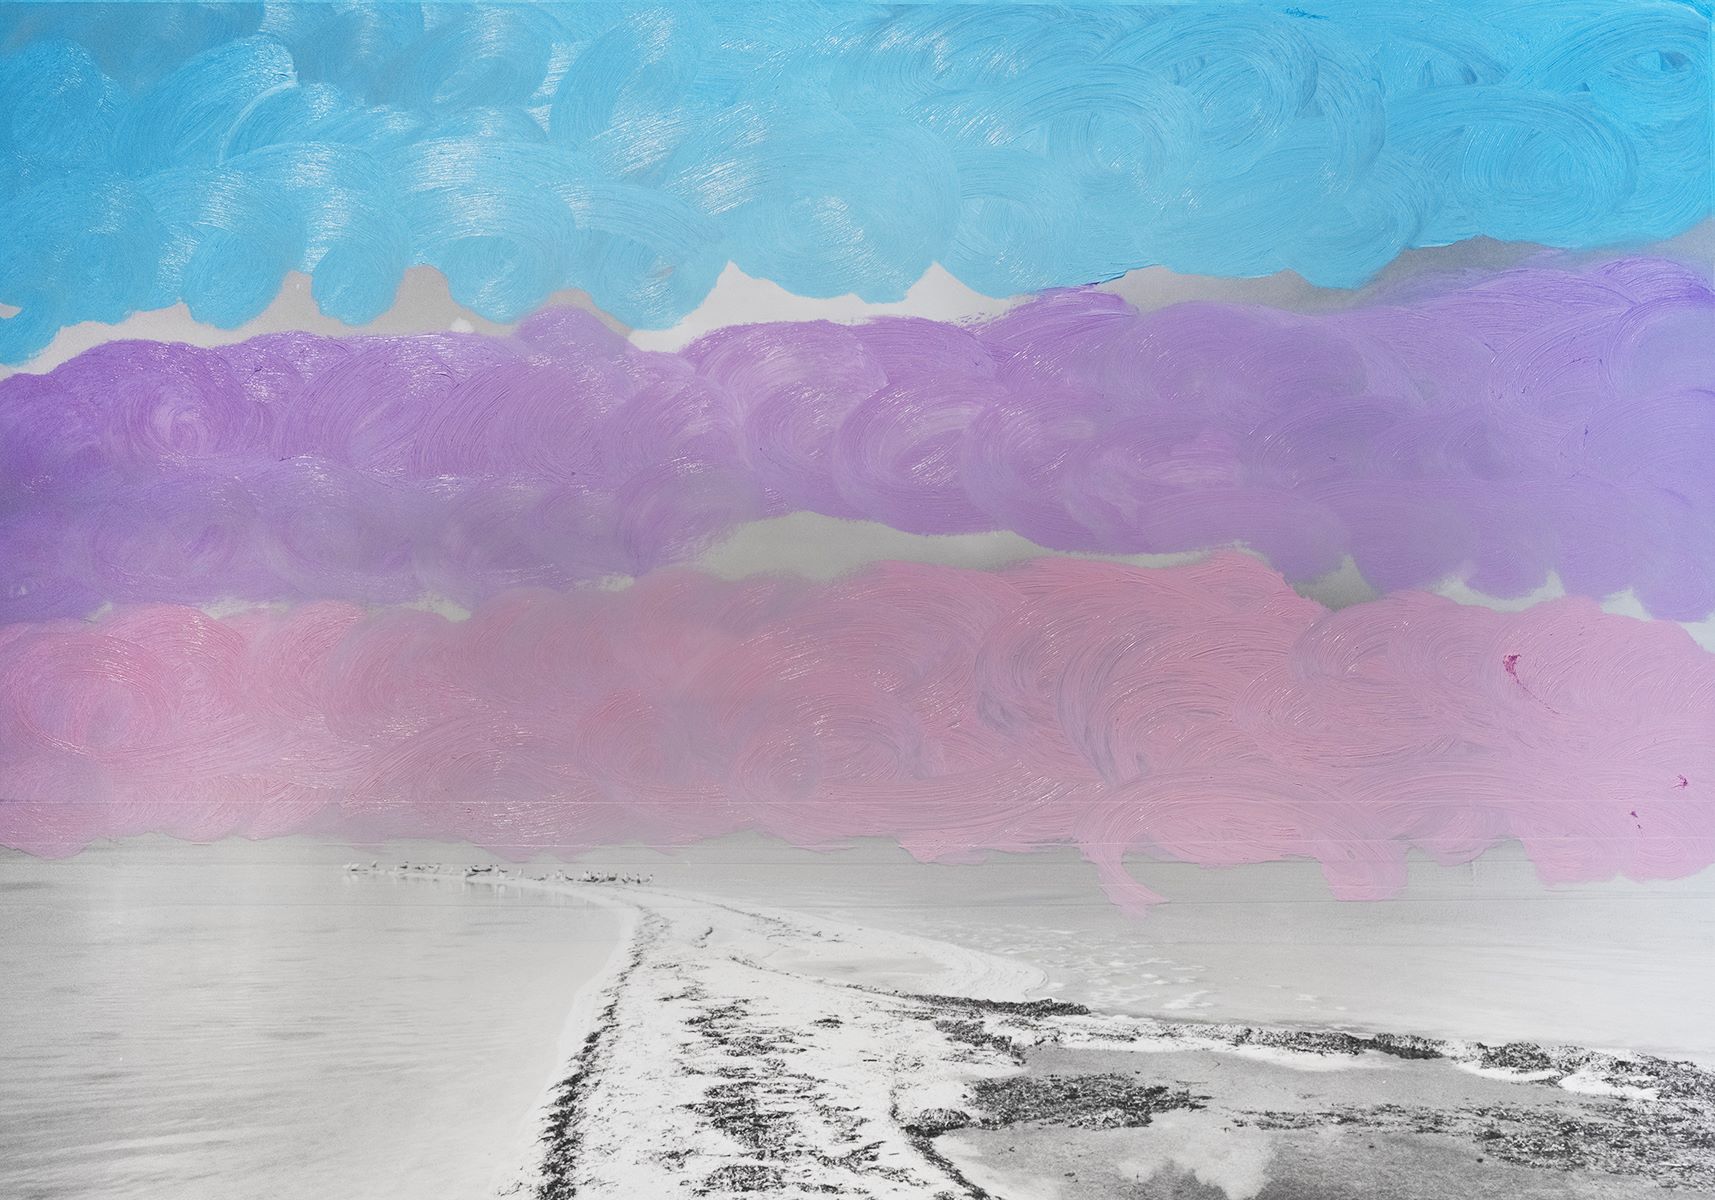
STEP 2: She applies a heavy coat of oil paint across the sky using various colors to create a gradient background. She gently blends the colors using cotton balls until she achieves the combination of colors she likes, and the photograph shows through the paint.
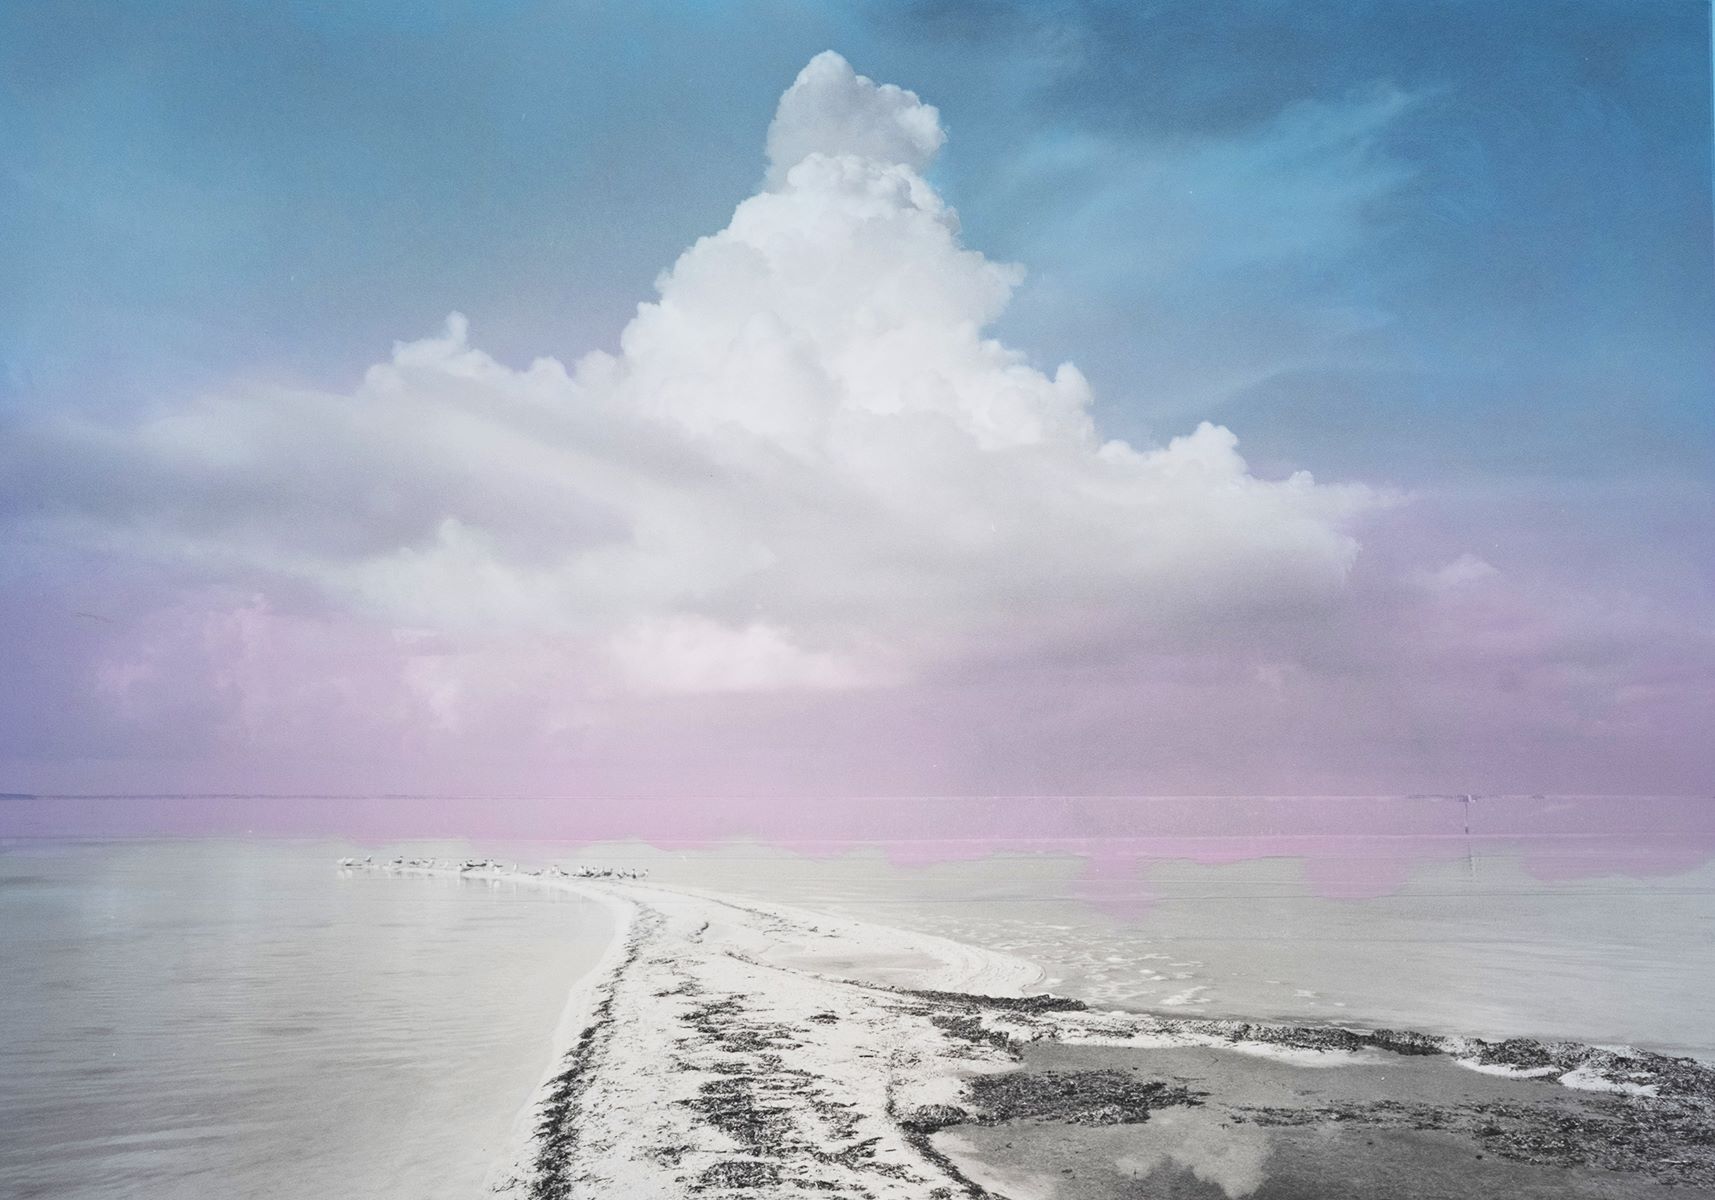
STEP 3: Using Q-tips and cotton balls, she removes excess paint off the clouds, allowing the white of the clouds to remain predominant while gentle purple hints cover the underside.
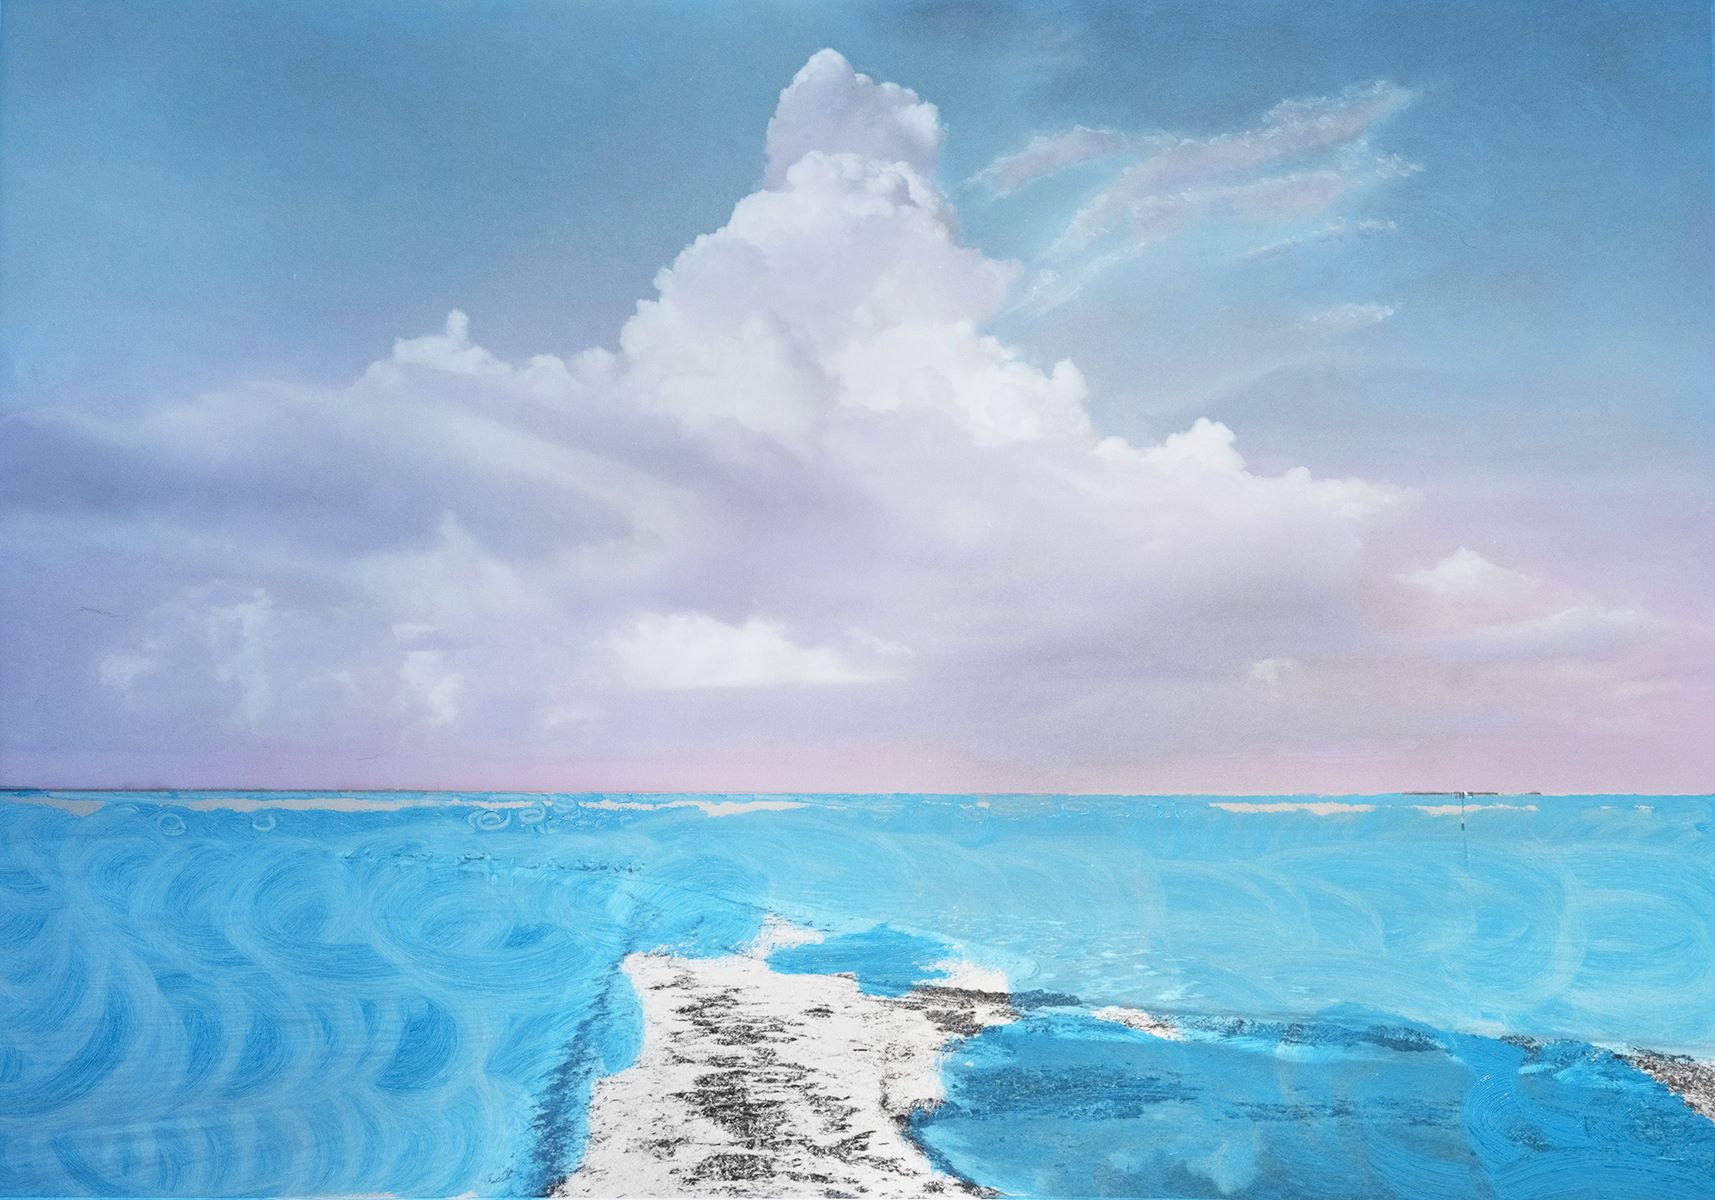
STEP 4: Next, she uses cotton balls to apply the paint to the water in the foreground. For more precision, she uses Q-tips to paint near the horizon line. Then with a combination of Q-tips and cotton balls, she removes the paint on the sandbar.
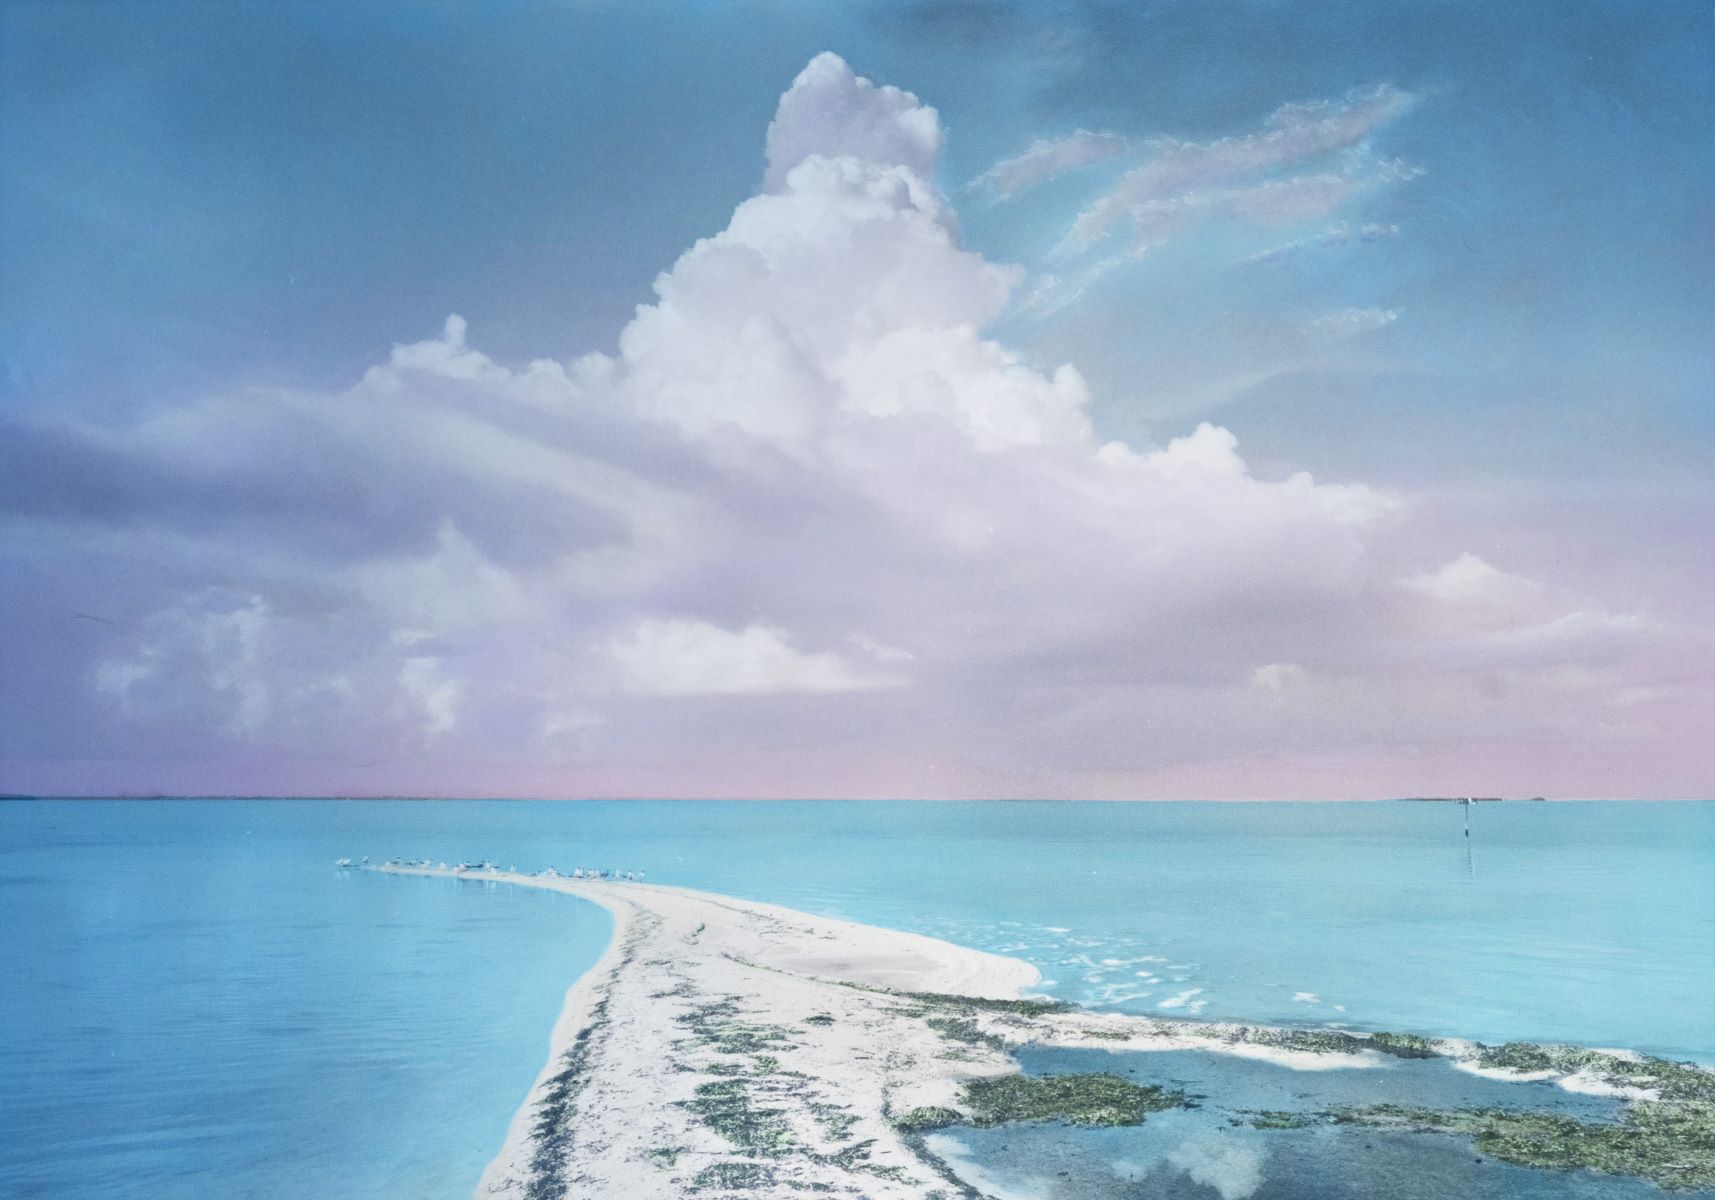
STEP 5: Using a Q-tip, she paints the sea grass scattered on the sandbar, lightly removes paint from areas on the water to make it feel more transparent, and adds finishing touch-ups until she feels satisfied with the final presentation.
